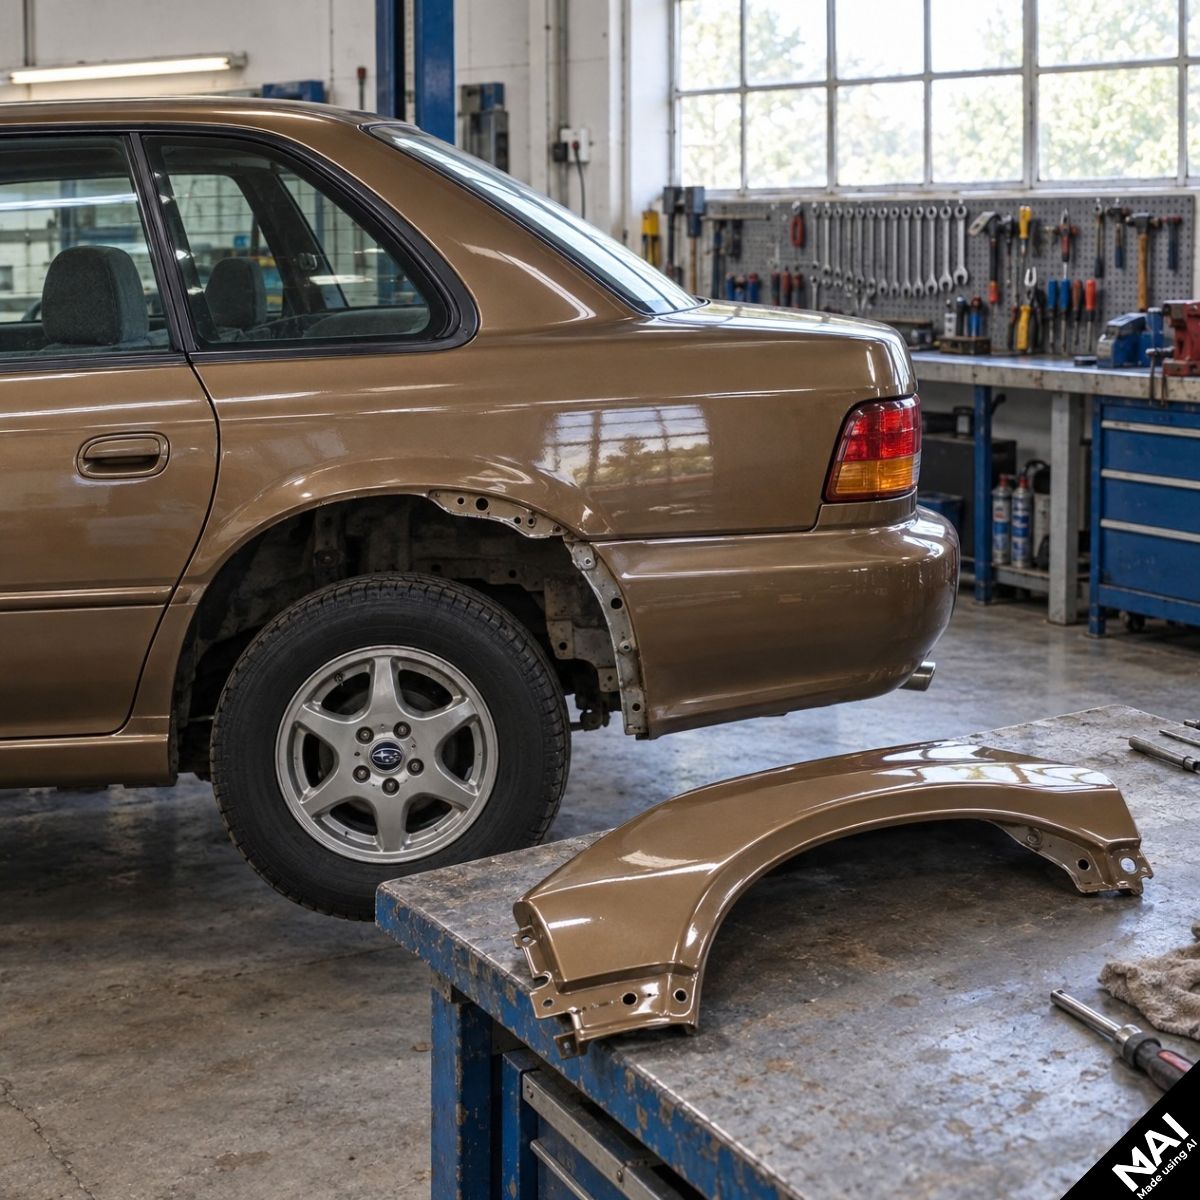
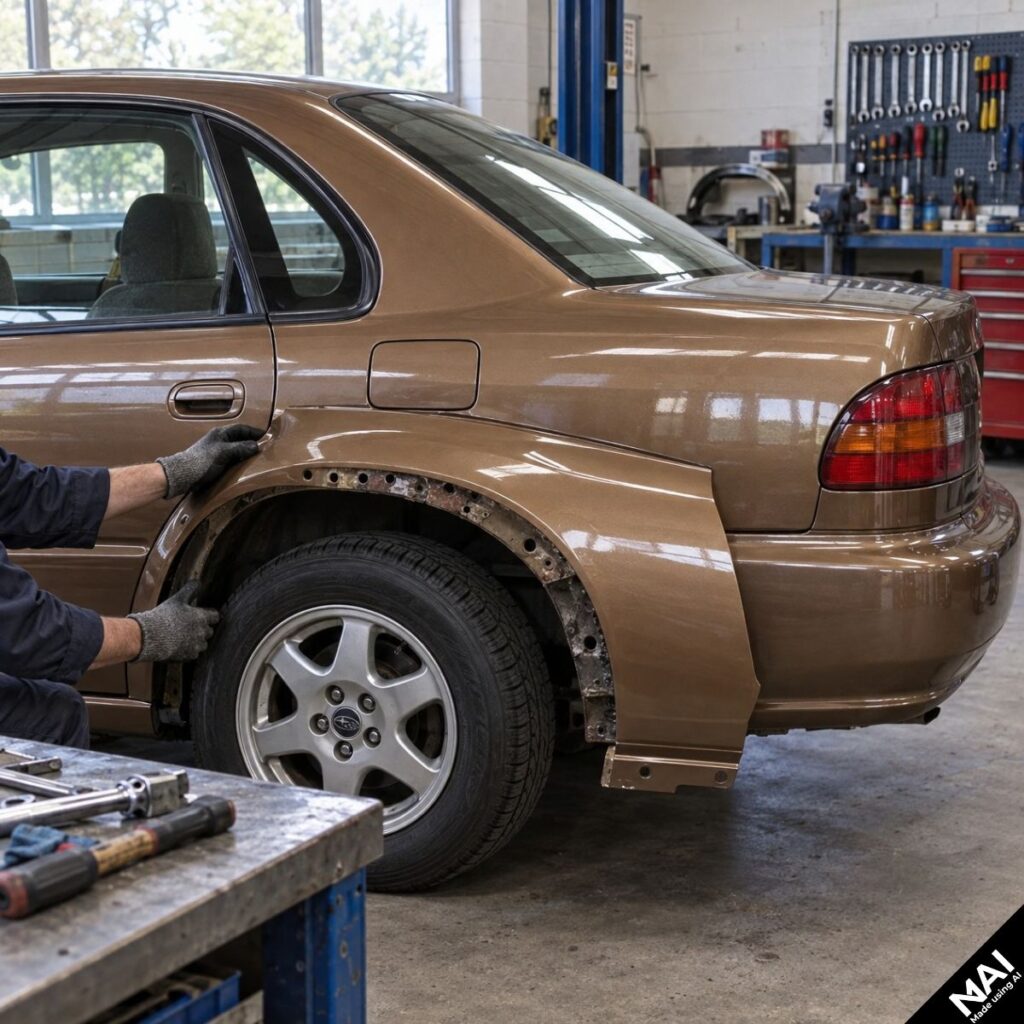
How to choose the right Subaru body repair panel
Choosing the right Subaru body repair panel starts with fitment, not appearance. Two panels can look very similar in a product photo but still differ in shape, dimensions or the area they are designed to repair.
Before ordering, check the basic details of the car and the damaged section. Model, generation, chassis code, production year, body style and installation side can all affect compatibility. A few minutes spent confirming these details can save a lot of time once the repair begins.
Start with the exact model and generation
Begin with the exact Subaru model you are repairing. Subie Savers focuses on body repair panels for Impreza, Forester and Legacy, but the model name alone is not always enough to identify the correct part.
Each model was produced across several generations, and the shape of the body changed between them. A rear wheel arch or rocker section designed for one generation should not be chosen simply because it looks close to the damaged area on another. Confirming the model and generation immediately removes many incorrect options.
Use the chassis code to narrow down fitment
Chassis codes are one of the most useful references when checking Subaru body panel fitment. They help distinguish different generations and body versions more precisely than the model name alone.
Examples commonly used in Subaru fitment include GC/GF and GD/GG for Impreza, as well as SF and SG for Forester. If a product page specifies a chassis code, compare it with the information for your vehicle before ordering. This is especially useful when several generations share the same model name.
Check the production year and body style
The production year helps confirm the correct generation, but it should be checked together with the chassis code and body style. A year on its own may not give enough information, particularly around the transition between two generations.
Body style matters as well. Sedan and wagon versions can have different rear quarter shapes, wheel arch profiles or surrounding body sections even when they belong to the same model family. If a product is listed for a specific body version, make sure it matches your car rather than relying only on the year range.
Identify the exact area that needs repair
Before choosing a replacement panel, inspect the damaged area carefully. Rust or accident damage may extend farther than the section that is immediately visible from the outside, so the panel you need depends on the actual extent of the repair.
Rear wheel arches, inner wheel arches and rocker panels are different repair sections even though some of them meet in the same part of the body. Knowing exactly which metal needs to be replaced helps avoid ordering a panel that covers only part of the damaged area.
Confirm the installation side and product details
Many body repair panels are produced separately for the left and right side of the vehicle. Always confirm which side needs repair and check that the selected product matches it.
Do not use the product photo as the only fitment check. Camera angle and scale can make different panels look more similar than they really are. The product title and fitment information are more reliable: compare the model, chassis code, year range, body style and installation side before adding the part to your cart.
Make a final fitment check before ordering
Before checkout, compare all of the key details one last time: model, generation or chassis code, production year, body style, repair area and installation side. If these details match the information on the product page, you have a much stronger basis for choosing the correct panel.
If anything is unclear, contact us before ordering. Send the Subaru model, production year and the area that needs repair. If you know the chassis code, include it as well. A clear photo of the damaged section can also help us narrow down the right repair panel.